No edit summary Tags: Visual edit apiedit |
No edit summary Tags: Visual edit apiedit |
||
| Line 11: | Line 11: | ||
|} |
|} |
||
| − | The slime green color is the navmesh. With the building removed, you can see that only the ground floor is navmeshed. The overlapping nature and the steepness of the three stairways in the building are apparently too complicated to the navmesh generator to handle.[[File:Large_pillbox007.png|left|704x704px]] |
+ | The slime green color is the navmesh. With the building removed, you can see that only the ground floor is navmeshed. The overlapping nature and the steepness of the three stairways in the building are apparently too complicated to the navmesh generator to handle.[[File:Large_pillbox007.png|left|704x704px]] |
| + | |||
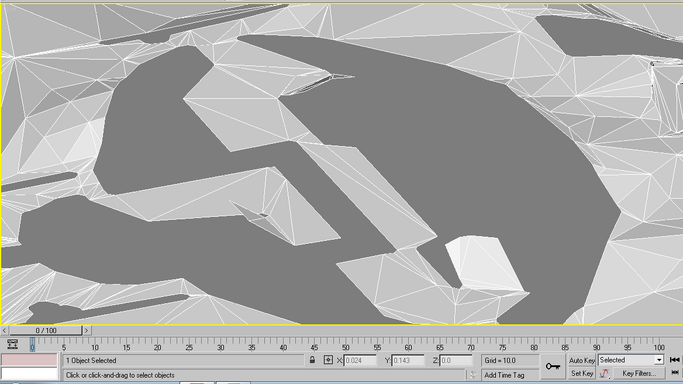
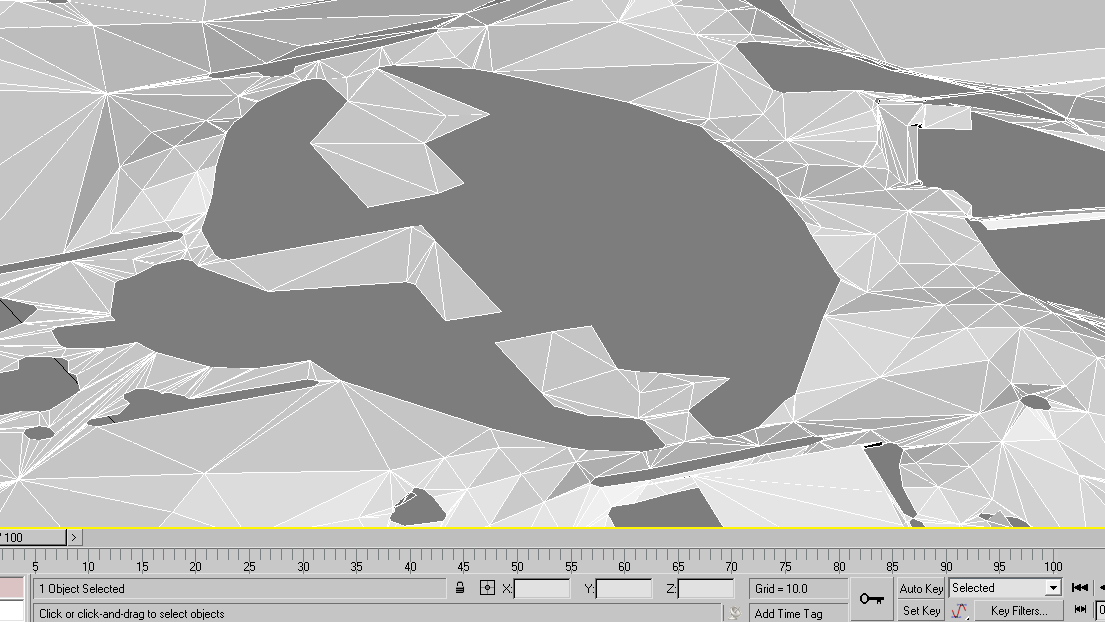
| + | Now, lets load up the infantry.obj navmesh into 3ds Max by importing. I will go ahead and save it as a Max file, and then save it as I go along, saving each one as a seperate version number so I can go back if I need to. Below is the navmesh I am using. Normally, a navmesh is green for ground, but In this example I did not import the materials, so it's all neutral. |
||
[[File:Image001-0.png|thumb|696x696px]] |
[[File:Image001-0.png|thumb|696x696px]] |
||
Revision as of 02:56, 7 April 2017
This is what I call a navmesh transplant, for situations where an AImesh just isn't creating the Navmesh that you want for the map. To do this I will strip down the AImesh into the navmesh portion that I wanted and implant it into the main navmesh.
Tools: BF2editor. 3d Modeling software. 3dsmax 9 is used in this tutorial, but newer versions can be used.
First of all, for this example I am using the large pillbox object for Battlefield 2142. This is what it looks like in the editor:
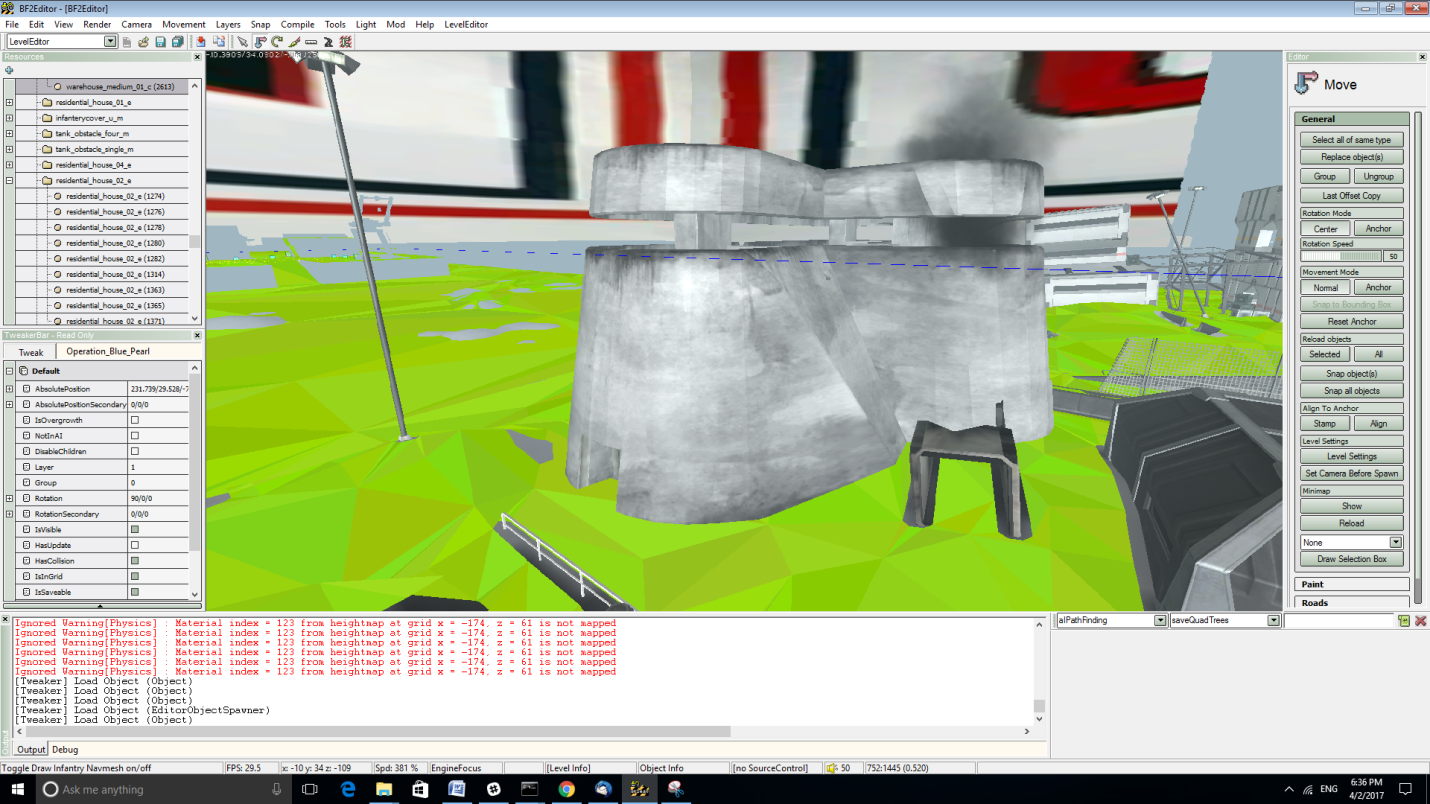 |
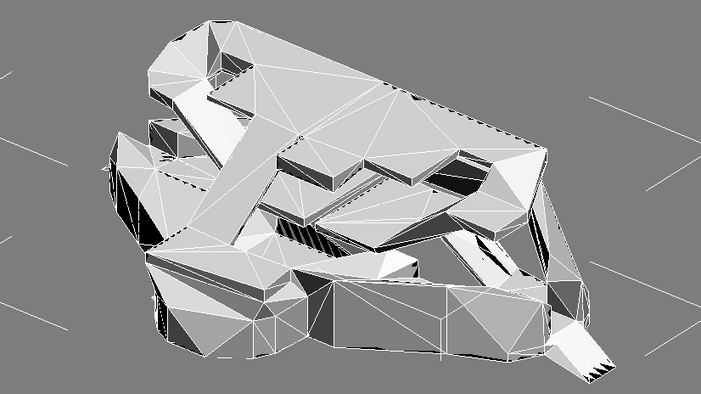
The slime green color is the navmesh. With the building removed, you can see that only the ground floor is navmeshed. The overlapping nature and the steepness of the three stairways in the building are apparently too complicated to the navmesh generator to handle.
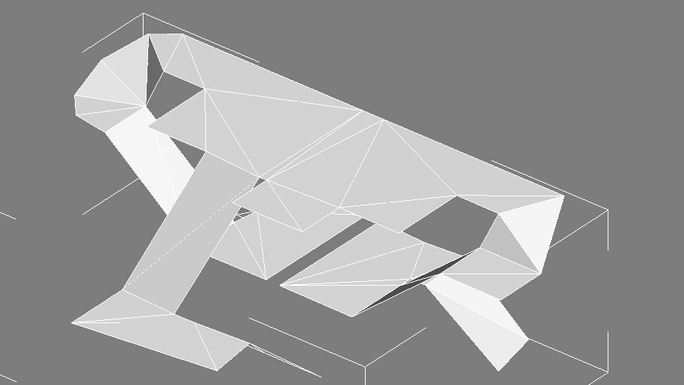
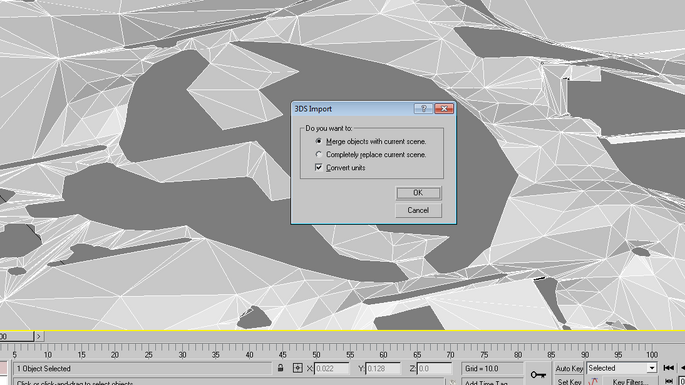
Now, lets load up the infantry.obj navmesh into 3ds Max by importing. I will go ahead and save it as a Max file, and then save it as I go along, saving each one as a seperate version number so I can go back if I need to. Below is the navmesh I am using. Normally, a navmesh is green for ground, but In this example I did not import the materials, so it's all neutral.

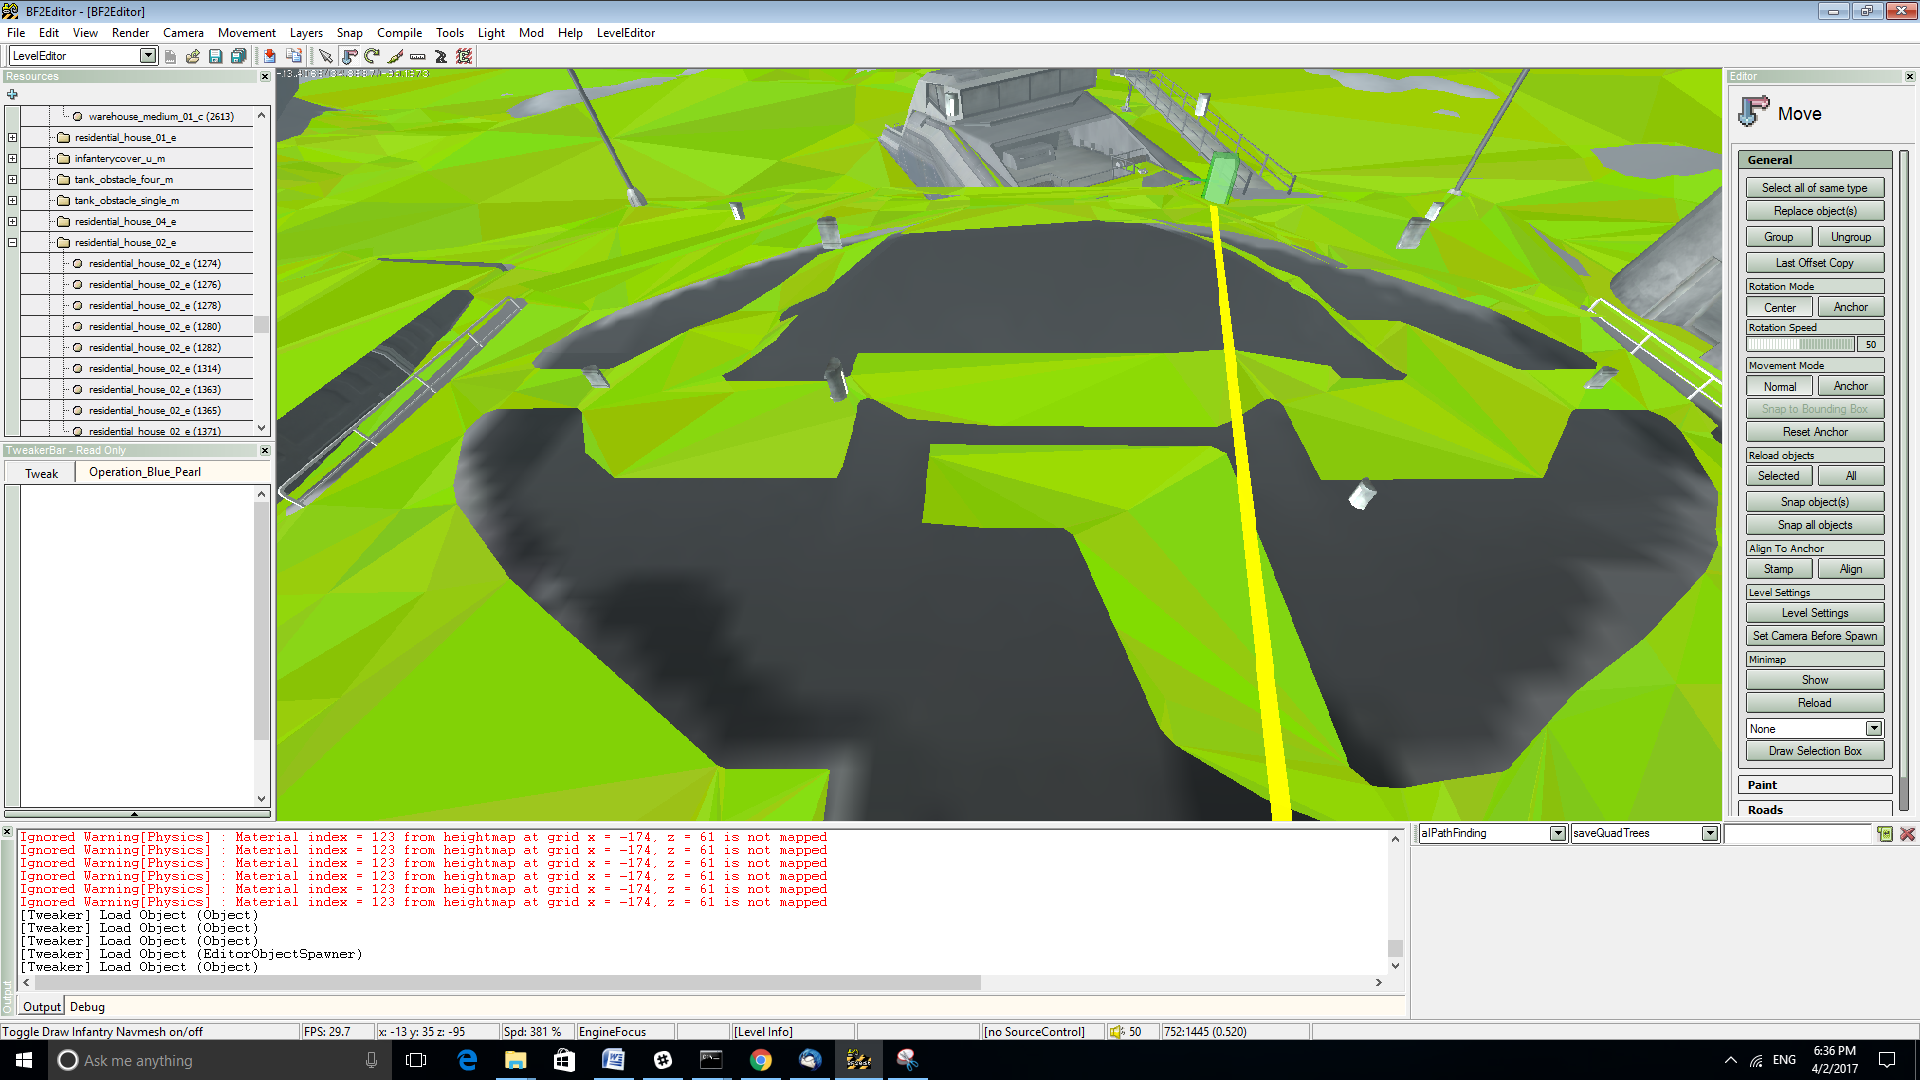
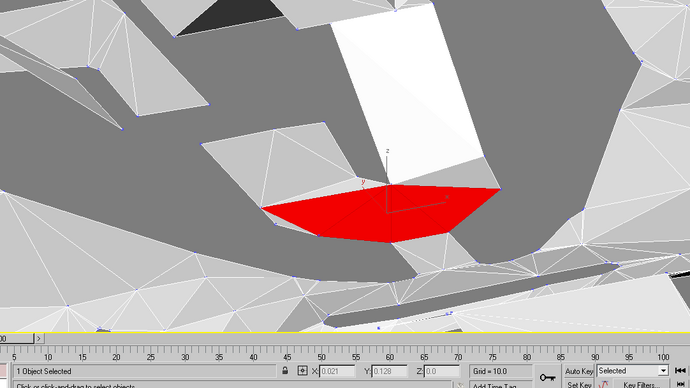
And a close up view the pillbox are of the navmesh:

I want to make the area as easy to import the transplant as possible, so I will do a some clean up of the area. This includes removing a connecting part between the two stairwells that should not be there

Ahhh... Much cleaner now and less chance of having errors with a simpler, cleaner mesh.
Save this work, create a new scene and it's time to get the AImesh ready to convert to a navmesh transplant. Now, I could export the AImesh as an object file and then import it into the mesh and try to line up, but there is an easier way.
Navigate to your map's navmesh folder. In my example, I am working on Operation Blue Pearl, which is located on my system:
E:\Program Files (x86)\EA Games\Battlefield 2\NavMesh\work\Operation_Blue_Pearl
Then, find this subfolder:
GTSData\debug\objects_by_name\objects
In this folder, you will find a list of all the AImeshes, by object name in .obj format.
By importing the large pillbox object, into a new scene, I get this:

Now, creating this AImesh could be another tutorial, but basically it is the outline of the building just at the floor level, that includes only the stairs and walkways.
It is oriented and positioned to it's location on the navmesh, which will make it easy to import into the navmesh.
The problem is that it not in navmesh form. So, I will remove the outside portion of the building and clean up the mesh to leave a single plane representing only stairs and walkways that I want the bots to use. I am also removing the first floor since that navmeshed. Once completed it looks like this:

Now, export it as 3ds format in order to save the position format. Exporting as obj strips it out, at least with the 3dsmax 9 format. This is what I call a navmesh transplant. It is essentially the navmesh version of the AImesh object.
Load up the Prepared navmesh and import the navmesh transplant:

Yes you want to match up with mesh, so accept the default importer settings and select OK. The transplant will take on the materials and show the same color as the Navmesh when using a navmesh using full material settings. Again, this one is just an example for the tutorial.
.... And there it is, lined up and ready to attach

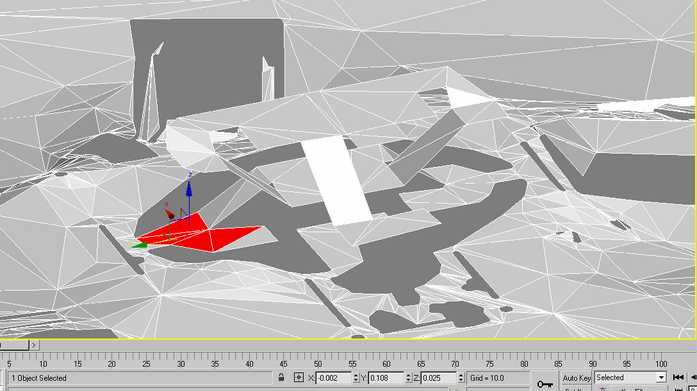
Then I used Attach button (In yellow) above to make the transplant part of the navmesh. I still need to connect faces with each of the three connecting points of this transplant. I will clean up the area making sure that I have a good clean connection for each of three stairwells. The first stairwell area completed connection is shown below:

Here is a pull back view of the the completed transplant:

Now it's time to 'fix' the navmesh, Load it up the editor to finalize the navmesh conversion process so the work can be tested. Even if you have to regenerate the navmesh, the transplant file should be saved and can be retransplanted fairly easily. The most time consuming part was creating the Navmesh transplant.