Editing the Soldiers Kit - SkinnedMesh - Part 8
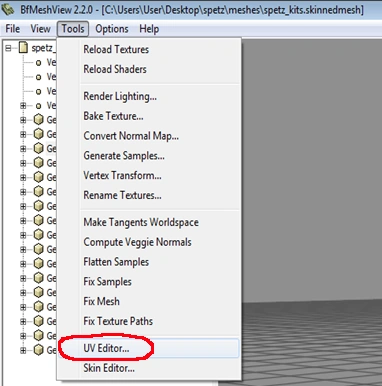
TEXTURES EDITING We open in BfMeshView tool the original "spetz_kits.skinnedmesh".In left column of tool we select AT-kit(Geom2). Through "Tools->UV Editor..."(screenshot 85)
 |
|---|
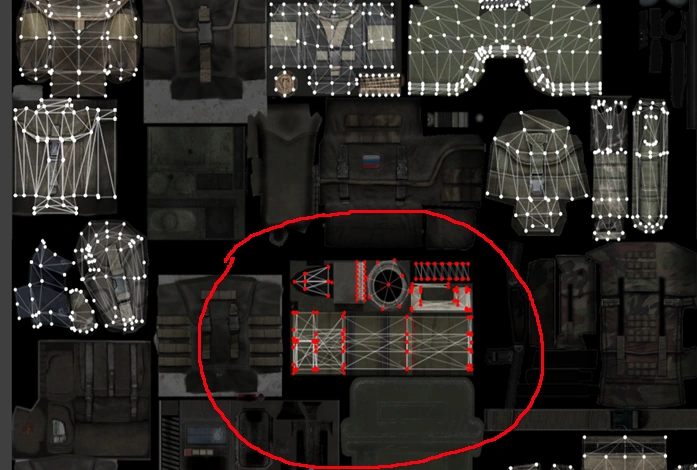
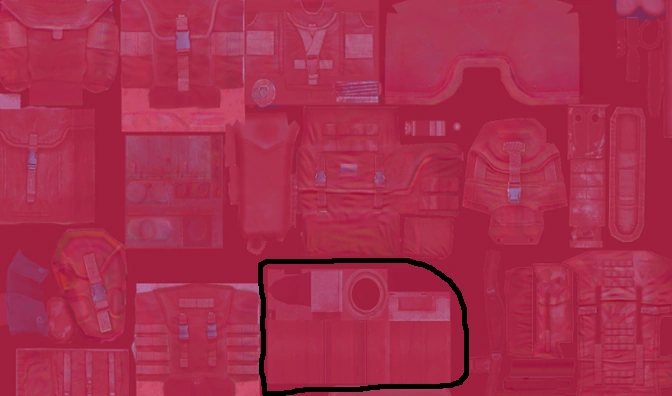
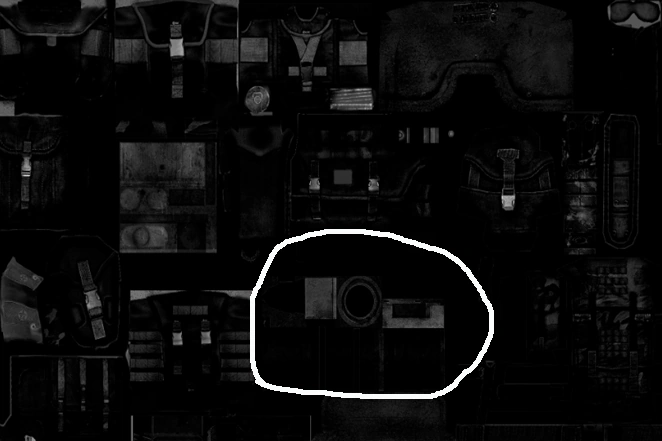
we open material map, with right mouse button we increase it, and with middle mouse button - we can center it. We find on the map something what looks like the ERYX textures on the screenshot: "эрикс" - ERYX(screenshot 86)
 |
|---|
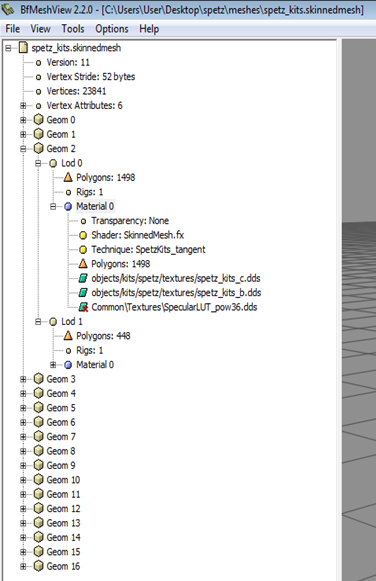
- we select it with mouse and look in the BfMeshView tool window, what was selected.(screenshot 87)
 |
|---|
Now we open "spetz_kits_c.dds" and "spetz_kits_b.dds" in Photoshop, we put one on the other in the same window with transparency 50% for the file that is above.(screenshot 88)
 |
|---|
Do not forget about alpha chanel of "spetz_kits_b.dds" - it also needs to be imported and edited with the file, renaming in advance in "Alpha spetz_kits_b.dds", in order to not confuse it.Then before export we rename it back.(screenshot 89)
 |
|---|
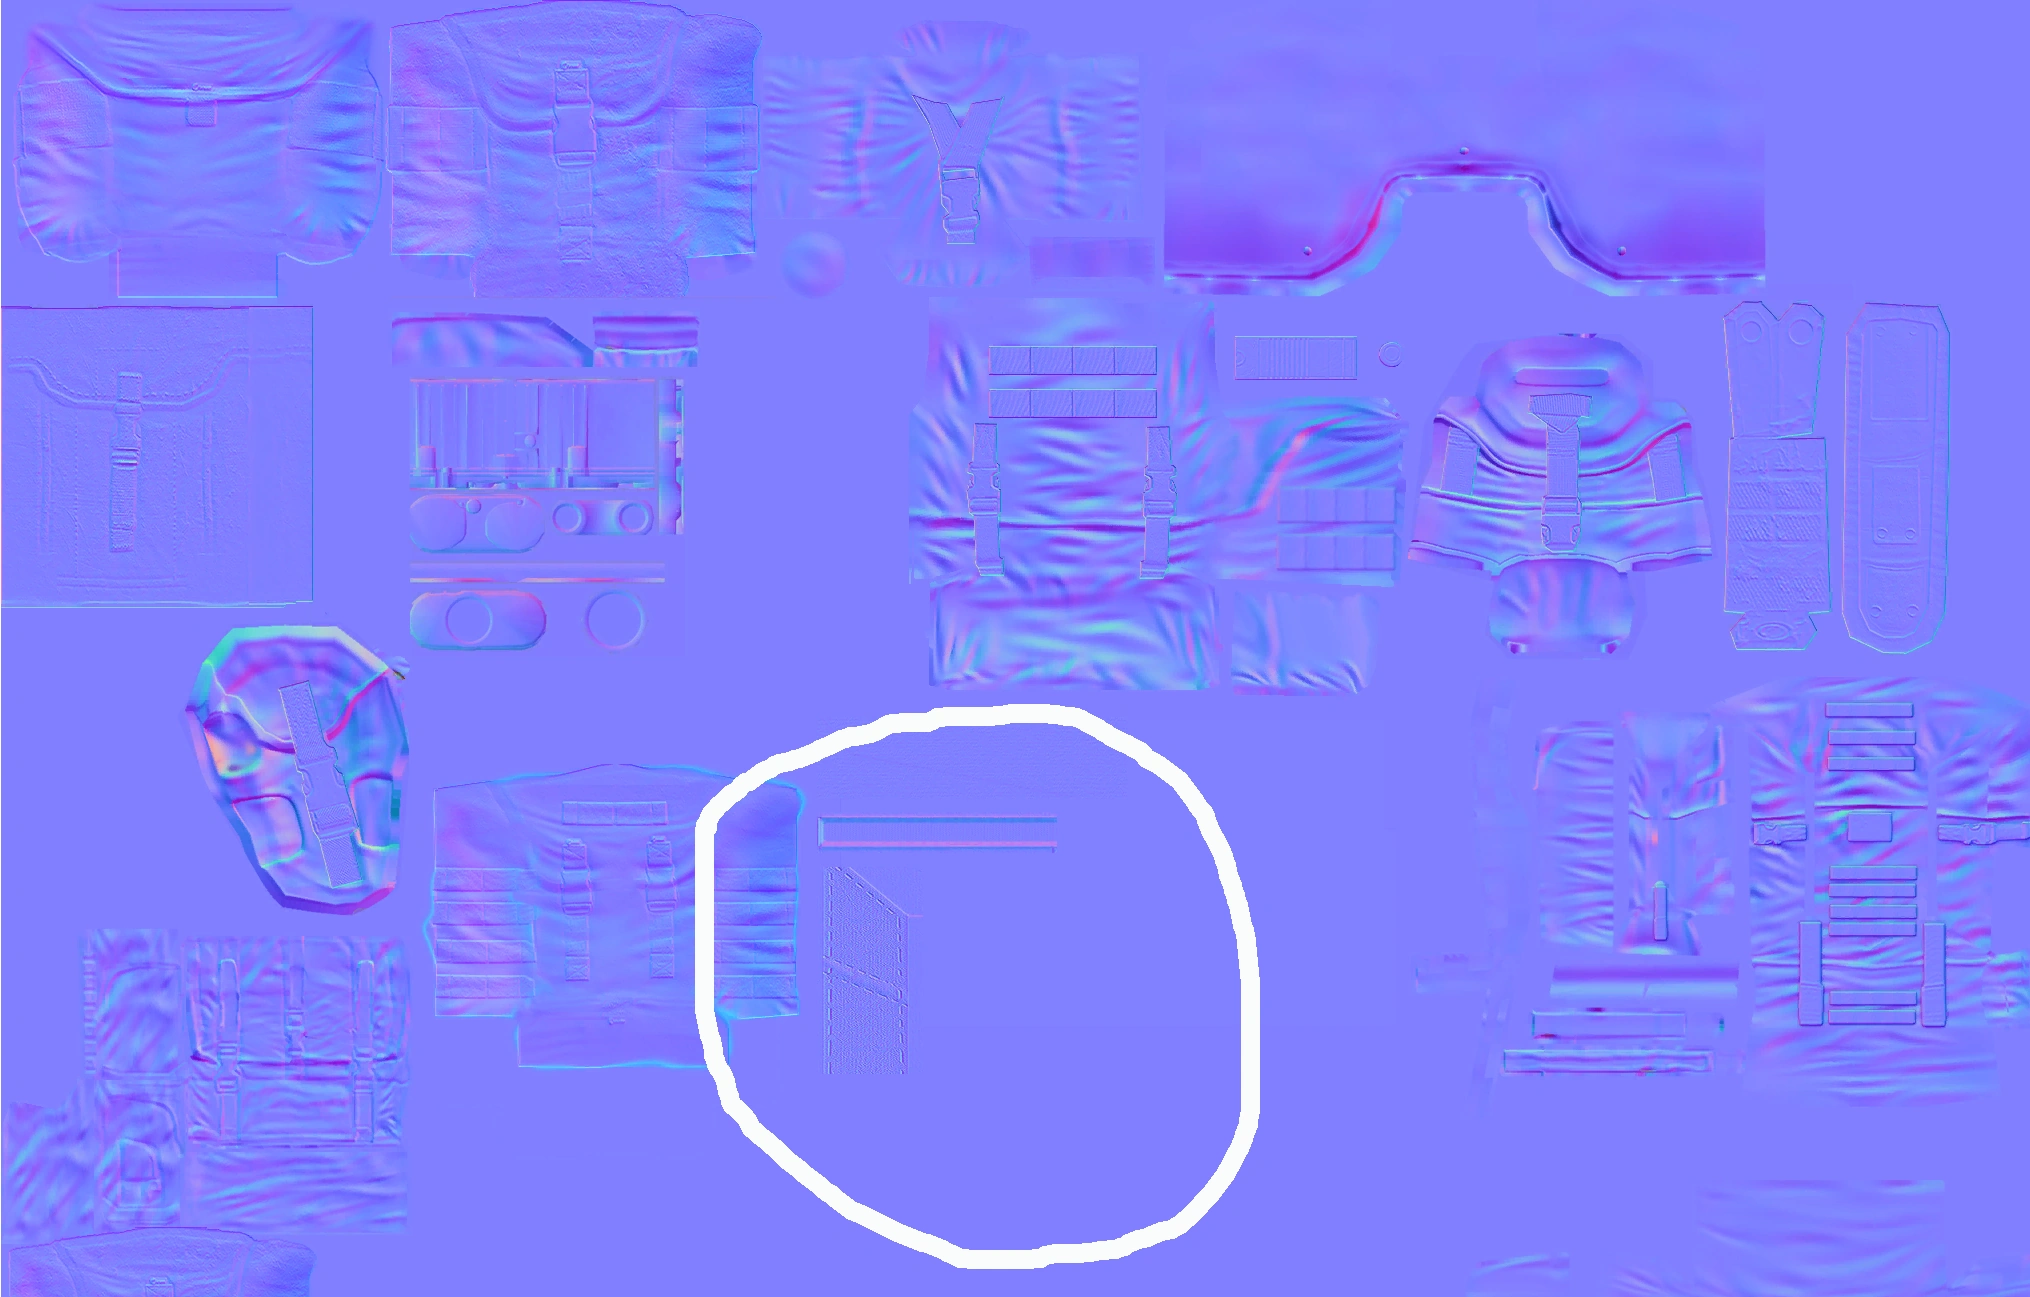
You need to know a little bit the Photoshop - we just fill the region where are the ERYX with file background color, on both ".dds"-files, and the alpha chanel of "spetz_kits_b.dds" file(Alpha spetz_kits_b.dds). Now we open in BfMeshView tool the "ru_kits.skinnedmesh" file from Project Reality, for to discover the RPG-26 Agleni textures.In left column of BfMeshView tool we find the kit with RPG-26 Agleni(Geom 5), and try to find it textures through "Tools->UV Editor...".(screenshot 90)
we find all this(screenshot 91)
on the screenshot: "труба рпг26" - the rpg26 tube "ремешок" - the strap "детали" - the details "материал" - the material We don't close BfMeshView tool and "UV Editor" window with the result of the find. We open in Photoshop the "ru_kits_c.dds" and "ru_kits_b.dds" files, like we made with "spetz_kits_c.dds" and "spetz_kits_b.dds" files(one on the other in the same window with transparency 50% for the file that is above.) And looking in "UV Editor", we find this rpg26 regions in Photoshop opened files("ru_kits_c.dds" and "ru_kits_b.dds"), and we make new layers from "ru_kits_c.dds" and "ru_kits_b.dds" and we putting them: the new rpg26 texture layer from "ru_kits_c.dds" on "spetz_kits_c.dds" the new rpg26 texture layer from "ru_kits_b.dds" on "spetz_kits_b.dds" - on these places where are the ERYX.(screenshot 92 and screenshot 93)
 |
|---|
 |
|---|
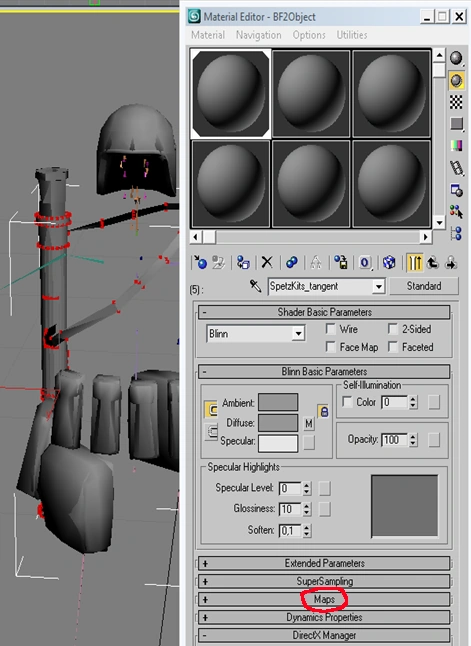
We save edited ".dds" files, and putting them on the folder "scenes/objects/kits/spetz/textures" of 3dsmax, with replace.Now we need to edit the RPG-26 Agleni's unwrap on the texture map, in the edited in Photoshop "spetz_kits_c.dds" and "spetz_kits_b.dds" files.For this is need to must be imposed the textures maps on the meshes of both lods(from geom2). We beginig with "spetz_kits__SimpleObject" mesh of "geom2/lod0".Its ID material is "5", including the all meshes from "geom2/lod0".In 3dsmax "Material Editor" window we push on "SpetzKits_tangent" wich have ID "5", we open "Maps" options,(screenshot 94)
 |
|---|
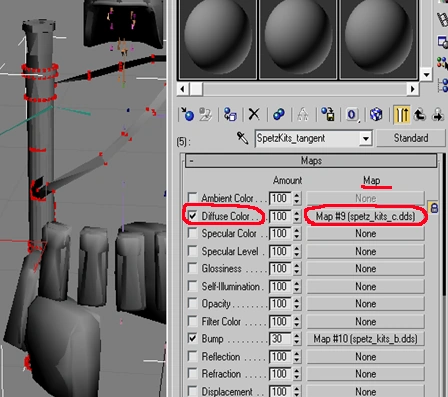
opposite the "Diffuse Color", under "Map" we click on(screenshot 95)
 |
|---|
here in "Bitmap Parameters" options we push on the button opposite "Bitmap", will appear the "Select Bitmap Image File" window, where we go to the "...3dsmax/objects/kits/spetz/textures and select our modified in Photoshop file - "spetz_kits_c.dds".(screenshot 96)
The textures overlaid all meshes of "lod0"(geom2).But on the our RPG-26 Agleni is not its textures.Is need to edit the unwrap.(screenshot 97)
Also add bump map on the kit.(screenshot 98)
The same thing we do for everyone kits. For "SpetzKits_tangent" - the "spetz_kits_c.dds" and "spetz_kits_b.dds" textures For "Pilot_tangent" - the "pilot_kits_spetz_c.dds" and "pilot_kits_spetz_b.dds" textures For "drop_tangent" - the "spetz_dropbag_c.dds" and "spetz_dropbag_b.dds" textures Now is time for correct the unwrap of RPG-26 on map. In 3dsmax on "Editable Mesh" we put the "Unwrap UVW" modifier("Right Column->Modify->Modifier List->Unwrap UVW")(screenshot 99)
In "Right Column" in "Parameters" options we click on "Edit..."(screenshot 100)
Will be opened the "Edit UVWs" window, where we see the same unwrap wich are in the original file from Project Reality("ru_kits.skinnedmesh" in BfMeshView tool).(screenshot 101)
On the screenshot: 1)the RPG-26 Agleni strap, 2)the RPG-26 Agleni tube, 3)the RPG-26 Agleni details On left in 3dsmax On right in BfMeshView tool In "Edit UVWs" window on bottom in field we switch ID material from "All" to "5:SpetzKits_tangent"(screenshot 102)
Here we edit the unwrap of RPG-26 Agleni.We dragging the unwrap on the RPG textures.(screenshot 103 and screenshot 104)
This is an approximative edit. We will finish the more detailed unwrap later, in "UV Editor" window of BfMeshView tool. After we finished the unwrap approximative edit, in "Right Column" we click "RMB" on the "Unwrap UVW", and in appeared menu we click on "Collapse To".In appeared "Warning: Collapse To" window we push on "Hold/Yes".(screenshot 105) |-
! scope="col" |
|} In "Editing Window" now is visible that the RPG-26 Agleni textures approximately it satted down normally.(screenshot 106) |-
! scope="col" |
|} We make the same operation with other RPG-26 mesh(spetz_kits__SimpleObject) of "geom2/lod1".Taking into account that for this "geom2/lod1", the ID material is "6".(screenshot 107 and screenshot 108) |-
! scope="col" |
|} |-
! scope="col" |
|}
THE KIT MESHES ATTACHMENT TO THE SOLDIER'S SKELETON BONES(SKIN AND WEIGHT)
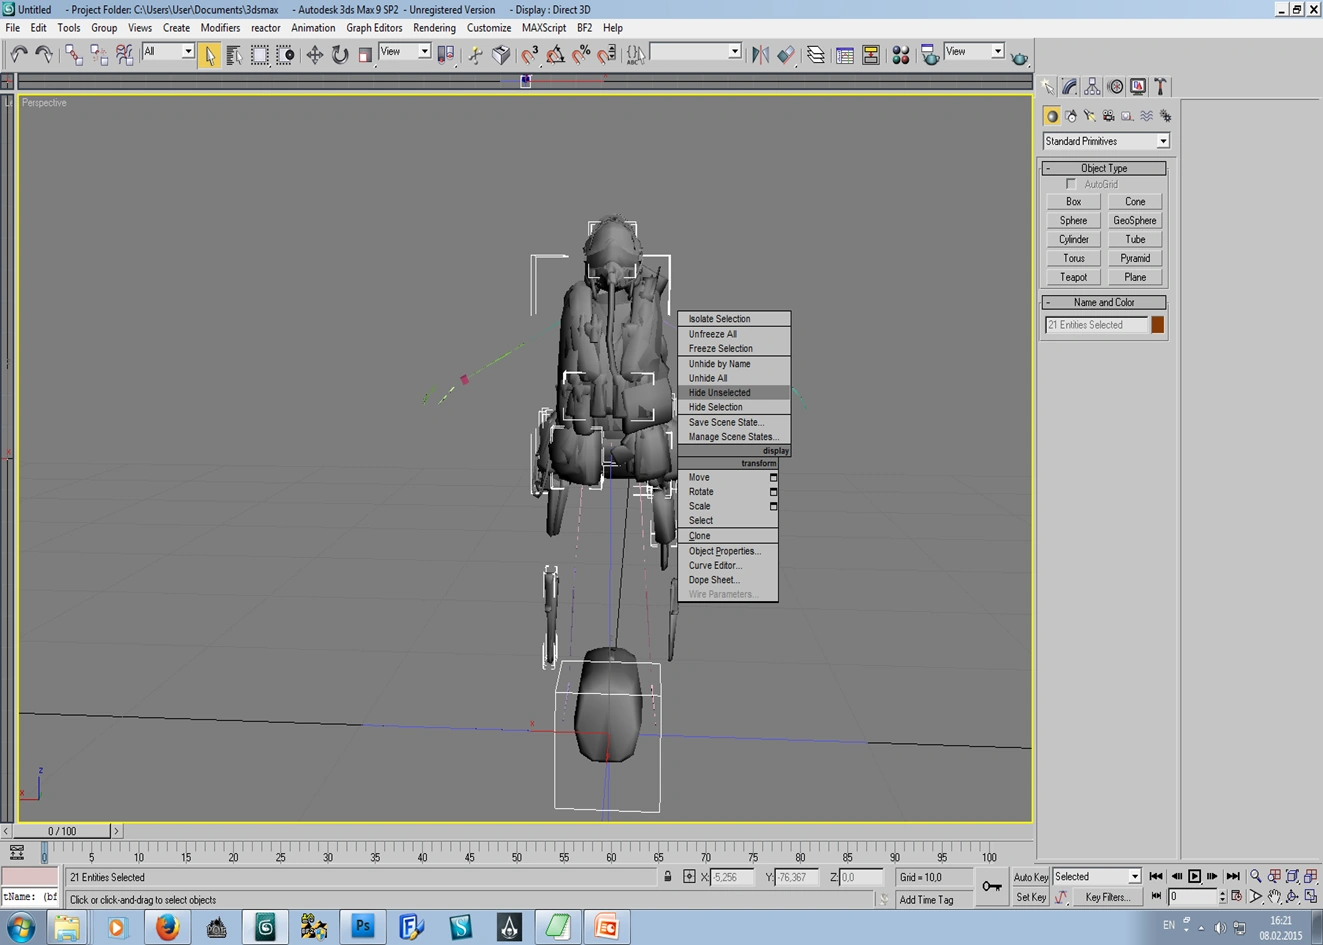
Is need to attach to the soldier's skeleton bones all meshes of all kits + the pilot(heli and aircraft) and crew(tank gunner) kits.Does not matter what was edited - one kit or two, we need to attach all kits to the bones.Otherwise the export of the skinmesh-file will not succeed - the result will be empty the export-folder, or crash "Sceneparse".An exception is the kit bags(screenshot 109)
|-
! scope="col" |
|} which remain at the death of a soldier(the dropgeom) - they can not be attached to bones. Let's begining. Through the "RMB Menu" we hide soldier's skeleton, geom2 with it lod0,lod1 and its meshes. Through the "BfMeshView" tool we open the original unmodified the Spetznaz kits "skinnedmesh"-file, to see approximately what meshes to which bones to attach.We go here - File ---> Open ---> "the 3dsmax folder/scenes/objects/kits/spetz/meshes", and open the "spetz_kits.skinnedmesh" file in "BfMeshView" tool.(screenshot 110) |-
! scope="col" |
|} On the "BfMeshView" tool toolbar click on "View->Bone Sistem" and put a tick, to see the bones that are involved for skin and weight.For each kit can be different bones and bones quantity.(screenshot 111) |-
! scope="col" |
|} on the screenshot: "задействованые кости" - the used for skin an weight bones "киты" - the soldier-kits(medic, AT, Assault etc) "киты пилота" - the crew and pilot kits(aircraft, heli and tank) "сумки китов" - the kit bags
In the "BfMeshView" tool left column we click on "Geom 2" for to see in tool window the Spetznaz AT-kit.The kits meshes usualy is attached(skin and weight) to neighbors bone/bones, but may be exceptions.The ERYX is attached to the bone-mesh15 of soldier's skeleton.(screenshot 112) |-
! scope="col" |
|} So with "BfMeshView" tool we can approximately to discover which mesh to which bone/bones to attach.And so in the tutorial I'll write about the AT-kit meshes attachments to the bone/bones, since I worked with it(I added RPG-26 Agleni).The meshes of other kits is attach almost the same way - in all kits, helmets and hats is attached to the soldier's skeleton "head"-bone; pistols that are on the left thigh, in all kits is attached to the soldier's skeleton "mesh9"-bone; the knife that is located on the bottom on the right foot to the soldier's skeleton "right_lowerleg"-bone etc. More difficult is deal with backpacks(medic, support and engineer backpack).There is three bones("torso", "spine2" and "spine3"), to wich we can attach the backpack meshes, and most likely these backpacks are attached to all three bones.(screenshot 113) |-
! scope="col" |
|} If the kit/kits mesh/meshes is attached to the wrong bone/bones, the kit parts look unnatural in the game(pouches and pistol).(screenshot 114) |-
! scope="col" |
|} And this is when the kit-meshes where attached to correct bones.(screenshot 115) |-
! scope="col" |
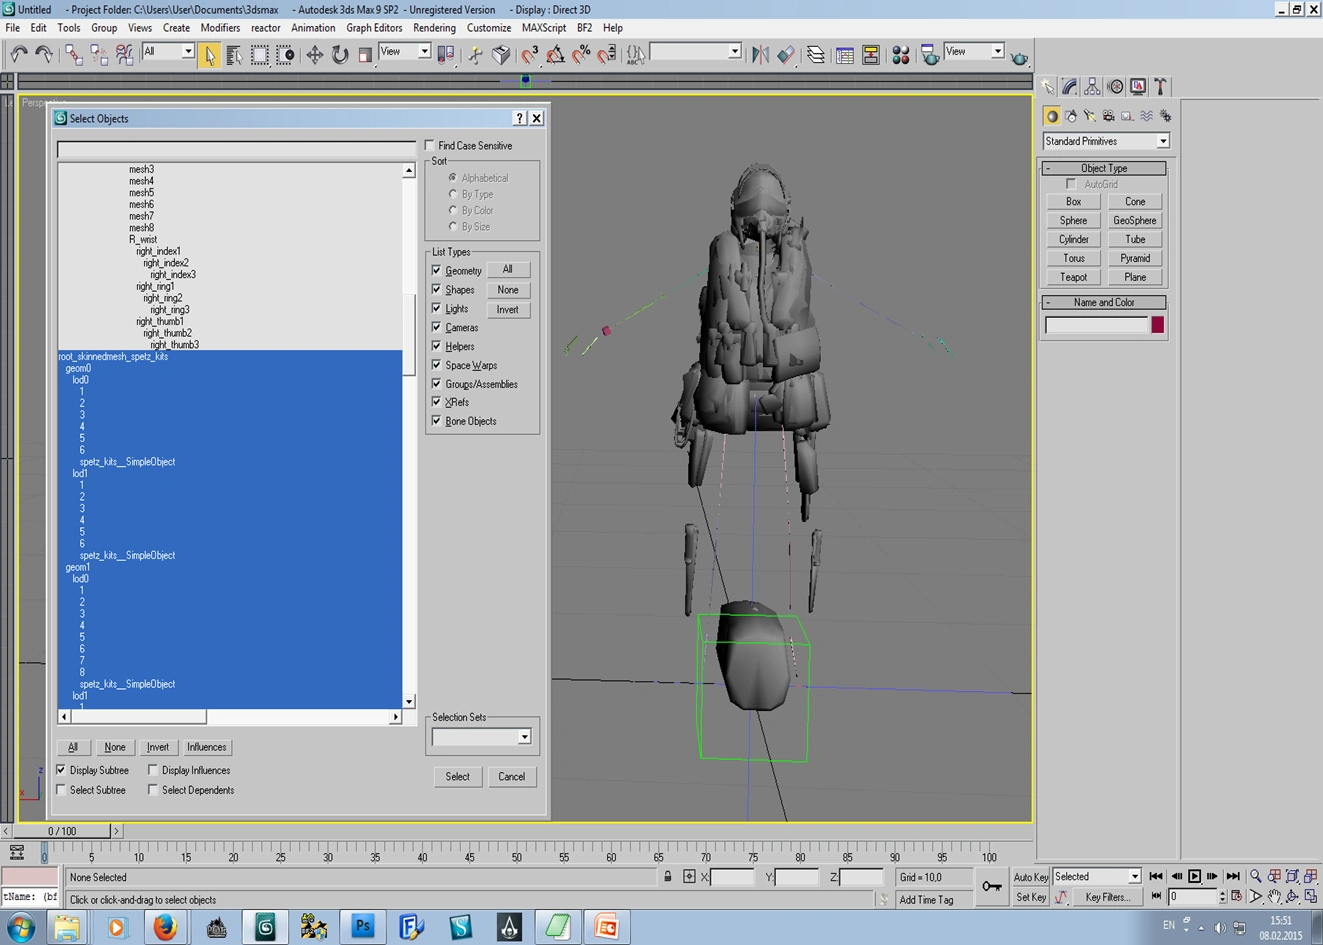
|} For begining we attach approximately all kits meshes to the soldiers's skeleton bones, so that we can successfully export(without empty folder or Sceneparse crash) our ".skinnedmesh"-file.And we begining to attach to soldier's skeleton bone/bones each kit-mesh, and check it in the game how is look.And compare it with how look in the original ".skinnedmesh"-file.Of course if this attached mesh is from BF2 vanila.If is not from BF2 vanila, we will try to find on which bone/bones the mesh will be look most better, most naturaly - we check in the game, and record the demo in the game(search in the google how to record the demo in the game), and view it in the "BattleDirector"(is need to check how look our attached mesh when soldier - move, run, crawls, shoots with weapon/weapons). And so in the "Select Objects" window we select the mesh "1" from geom2/lod0.This is the knife on the right foot at the bottom.(screenshot 116) |-
! scope="col" |
|} In the "Right Column" we click on "Modify", and "Editable Mesh" we switch to "Vertex" mode.In "Editing Window" we select all knife vertexes.(screenshot 117) |-
! scope="col" |
|} Is very important to select ALL object's vertexes(selected vertexes is colored in red, unselected - in blue(by default).(screenshot 118) |-
! scope="col" |
|} On knife mesh "1" we put the "Skin" modifier - in "Right Column" ---> "Modify->Modifier List->Skin".(screenshot 119) |-
! scope="col" |
|} Click on "Edit Envelopes"(in "Parameters") for to activate the "Skin" modifier.(screenshot 120) |-
! scope="col" |
|} In 3dsmax's "Editing Window" with click and hold The left mouse button we conduct orizontal line(screenshot 121) |-
! scope="col" |
|} from the knife's mesh to neighbour bone of soldier's skeleton, for to determine it.(screenshot 122) |-
! scope="col" |
|} In "Select Objects" window we see what was selected in "Editing Window" - the knife's meshes from both "geom2" lods, and one bone of soldier's skeletone - this is "right_lowerleg".To this bone and is necessary to attach both knife-meshes.Now we select the knife-mesh "1" of "lod0".Now in "Right Column" ---> "Parameters", we click on "Add", and will appear "Select Bones" window.(screenshot 123) |-
! scope="col" |
|} We select only the "right_lowerleg" bone and click on "Select". In "Right Column"/Parameters we put a tick before "Vertices", and before "Select Element".And remove ticks from "Envelopes" and "Cross Sections".The knife-mesh "1" became red.(screenshot 124) |-
! scope="col" |
|} The knife-mesh "1" of geom2/lod0 was attached to the "right_lowerleg" bone of soldier's skeleton.When we made this operation we skined and weighted the knife-mesh.But when is need to attach a mesh how the backpack to two, three or more bones of soldier's skeleton, and is need to modify bones interaction(weight) to backpack we use "Weight Properties" options. Below in "Right Column" there is "Weight Properties". We can use "Weight Table"("2" on the screenshot) or "Weight Tools"("1" on the screenshot) for to modify/change the bones interactions to mesh.(screenshot 125) |-
! scope="col" |
|} We attach all kits meshes to bones by this method. So - if the kit mesh is attached(skin and weight) to the one bone, the weight must be "1,0" in "Weight Properties/Abs. Effect".(screenshot 126) |-
! scope="col" |
|} The following AT-soldier kit's meshes will be attached in the following way: geom2/lod0 mesh "1"(the knife) - to the "right_lowerleg" bone(weight 1,0) mesh "2"(the holster with pistol) - to the "mesh9" bone(weight 1,0) mesh "3"(the flask for water) - to the "mesh10" bone(weight 1,0) mesh "4"(the vest unloading) - to the "spine2" bone(weight 1,0) mesh "5"(two pouches on the left thigh) - to the "left_upperleg" bone(weight 1,0) mesh "6"(the bag on lower back) - to "mesh13" and "mesh9" bones(with "Weight Tools" we distribute weight equally - 0,500 and 0,500 for both bones) mesh "7"(the bag on front-right side) - to the "mesh12" bone(weight 1,0) mesh "8"(the helmet) - to the "head" bone(weight 1,0) mesh "spetz_kits__SimpleObject"(the RPG-26 Agleni with it strap) - to "torso" and "spine3"(I think)(weight 0,500 and 0,500)
We make the same operations with kit meshes of geom2/lod1.And here we can observe that in lod1 the meshes are different names in comparison with lod0. Probably is not necessarily so that meshes of knife, helmet etc from both lods to have the same mesh-names. I don't observed problems with different names of meshes.
The good news about the backpacks(medic, engineer and support) attachement to the bones of soldier's skeleton. All bacpacks are attached to three bones - "torso", "spine2" and "spine3".(screenshot 127) |-
! scope="col" |
|} At first I did not know how, long sought.But every time was wrong result. On these screenshots are the wrong results.(screenshots 128, 129, 130, 131, 132) |-
! scope="col" |
|} |-
! scope="col" |
|} |-
! scope="col" |
|} |-
! scope="col" |
|} |-
! scope="col" |
|} The conditions for a succesfuly backpack attachment to the bones of soldiers's skeleton(I will work with the Spetznaz medic backpack.) The backpack must be in one mesh, and in the 3dsmax's "Right Column" in "Edit Envelopes" options unmark all checkboxes besides "Vertices". Is need to attach(skin and weight) the backpack by parts - we will be selecting the needing vertexes, and attach its to the bones. Now about what parts of the backpack, to which bones is need to attach. So as the bones is three("torso", "spine3" and "spine2"), is need to divide the backpack by vertexes. So that each part to depend on one bone.(screenshot 133) |-
! scope="col" |
|} For begining we put the "Skin" modifier on the backpack mesh - in 3dsmax's "Right Column" --->"Modify--->Modifier List--->Skin".(screenshot 134) |-
! scope="col" |
|} We click on "Edit Envelopes"(in "Parameters") for to activate "Skin" modifier.(screenshot 135) |-
! scope="col" |
|} In "Parameters" we click on "Add" to opposite of "Bones", and will appear the "Select Bones" window. Holding down the "Ctrl" key, we select the bones "torso", "spine3" and "spine2", and click on "Select" in this window.In "Right Column" --->"Parameters" we put a tick opposite by the "Vertices", and remove ticks opposite from "Envelopes" and "Cross Sections". Now according to the picture(screenshot 136) |-
! scope="col" |
|} we will divide the backpack of medic on three parts for three bones of soldier's skeleton.Like on the screenshot. on the screenshot: "сумка рюкзака" - the bag-part of backpack "верхняя часть лямок" - the top of the straps "нижняя часть лямок" - the bottom of the straps(screenshot 137) |-
! scope="col" |
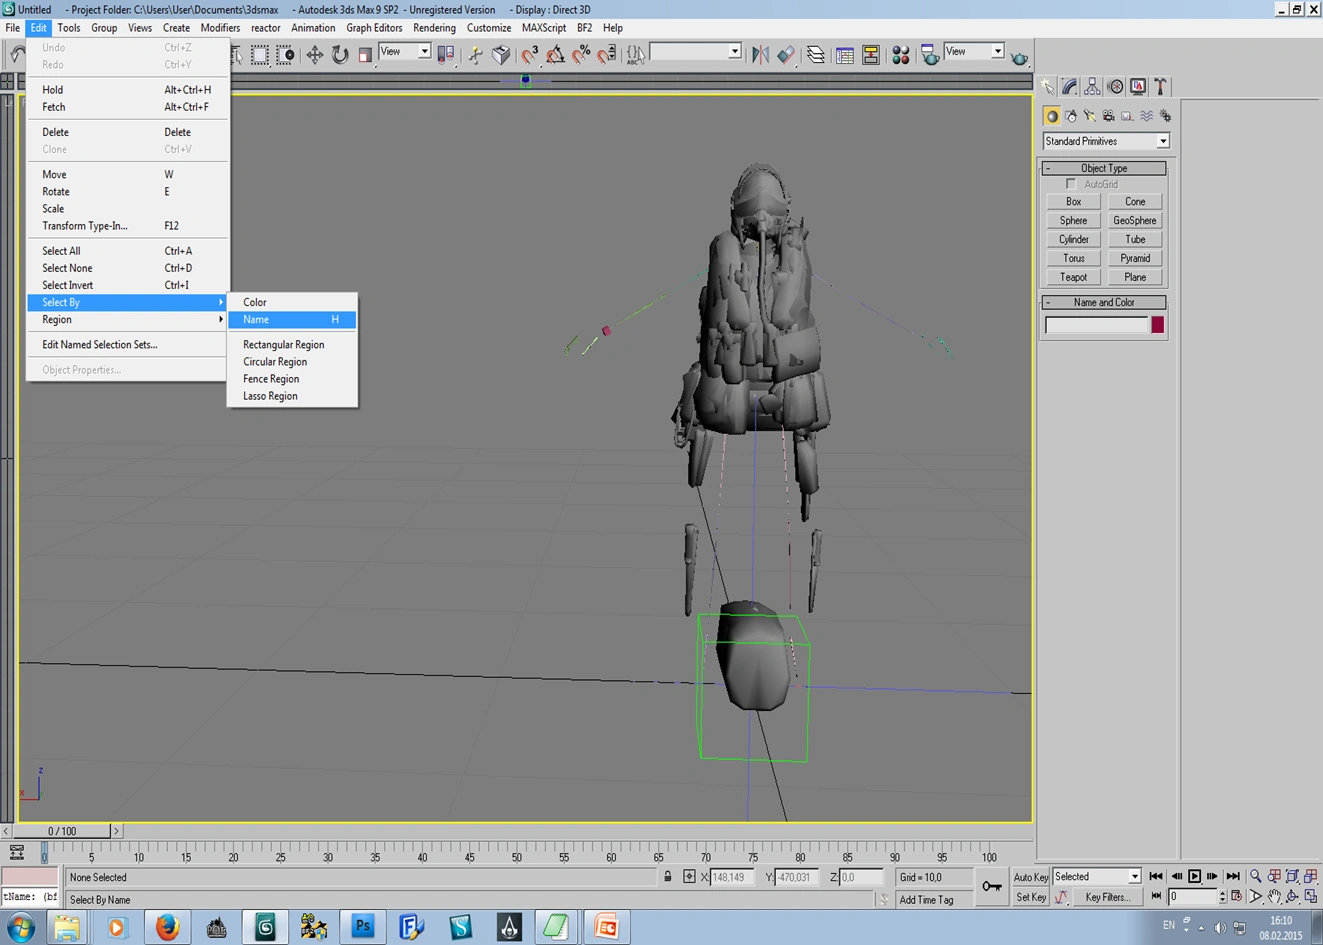
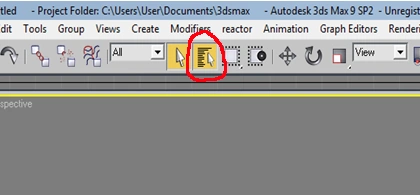
|} For the more effectivity, in 3dsmax toolbar, to the right of "Select by Name" we switch the "Rectangular Selection Region" to the "Lasso Selection Region". Now in "Right Column" ---> "Parameters" options, in "Bones" with the selected bones, we select the "spine3" bone, and in 3dsmax's "Editing Window" we select all vertexes of the bag-part of backpack.(screenshot 138) |-
! scope="col" |
|} Don't forget to give it the weigh. In "Right Column" ---> "Weight Properties", opposite of "Abs.Effect" is should be the "1,0" value. The bag-part of backpack is colored in red.The bag-part of backpack is attached to the bone(skin and weight). Then, in "Bones" we select the "torso" bone, and in the 3dsmax's "Editing Window" we select vertexes of the top of the straps - skin and weight it. In the end we select the "spine2" bone, and in the 3dsmax's "Editing Window", we select the vertexes of the bottom of the straps and skin/weight it. The controversial vertexes. Between the top of the straps and the bottom of the straps are the controversial vertexes, which can will be attached to all three("torso", "spine3" and "spine2") bones. on the screenshot: "спорные вертексы" - the controversial vertexes(screenshot 139) |-
! scope="col" |
|} We will divide the controversial vertexes between the "torso" and "spine3" bones(0,500 and 0,500 for both). We select the controversial vertexes in the 3dsmax's "Editing Window", then in "Right Column" ---> "Bones" we select the "torso" bone. In "Right Column" ---> "Weight Properties" options, we click on the "Weight Tool"(wrench).Will be opening the "Weight Tool" window.Here we click on the "Set Weight".The values in fields opposite of "Set Weight", "Scale Weight", "Paste-Pos Tolerance" must be how on the following screenshot.(screenshot 140) |-
! scope="col" |

|} In "Right Column" ---> "Bones", we select the "spine3" bone, and in "Weight Tool" window we again click on "Set Weight". The controversial vertexes of backpack was attached(skin and weight) to the soldier's skeletone.
We do the export of our modified ".skinnedmesh" file, edit the textures with the BfMeshView tool how was writted in tutorial, and we looking at the russian medic of Speztnaz in the BF2Editor tool, to make sure that everything is fine, and looks okay. If not everything is all right, we return in 3dsmax and try to attach the controversial vertexes to others of these three bones(usually problems arise with this part of straps(the controversial vertexes) - the straps go in the soldier body. My finally result.I think is not bad.(screenshot 141, 142, 143, 144) |-
! scope="col" |
|} |-
! scope="col" |
|} |-
! scope="col" |
|} |-
! scope="col" |
|} |-
! scope="col" |
|} Video from BF2Editor tool with attached to the soldier's skeleton backpack of Spetznaz medic. https://www.youtube.com/watch?v=dTPQ8MWYvpY&feature=youtu.be
THE WORK EXPORT IN ".SKINNEDMESH" FILE After all operations of kits meshes editing and skin/weight-operation we can export the project in ".skinnedmesh" file. In 3dsmax through "RMB Menu ---> Unhide All" we unhide all what was hide. On the 3dsmax's toolbar we go to "BF2->BF2 Exporter".Will appear the "BF2 Export - Objects" window(this is BF2 poe2_0.30a tool).(screenshot 145) |-
! scope="col" |
|} And in 3dsmax's "Editing Window" we select all(meshes, lods, soldier's skeleton etc).In field opposite the "Object Name" will be appear the name for future new ".skinnedmesh" file - "spetz_kits".In "BF2 Export - Objects" window through "Run Setup" we indicate the "output files directory" where will be exported the project, and click on "Finish Setup".In field under "Objects sub-folder path:(Example: /vehicles/land/)" we write the name of folder, and more nothing don't touch(not modify). We export the project - click on the "Export Object"(screenshot 146) |-
! scope="col" |
|} If THE HIERARCHY WAS BUILT RIGHT, and ALL MESHES OF ALL KITS WAS ATTACH(SKIN/WEIGHT), the export must be successful. But export can be and the unsuccessful if the hierarchy and skin/weight were made incorrectly: 1.the empty "meshes" folder without export crash(in output folder) 2.the empty "meshes" folder with files("two spetz_kits.dat" and "spetz_kits.material") 3.the export crash "Sceneparse Error" 4.the export crash with warning about lack of weight for some bones/bone.
The project export takes about 30 seconds on the good computers.On old computers may take 4 minutes. If the project export was successful, in the selected output directory(оbjects/test) must be appear - the new "spetz_kits.con" file, and the "Meshes" folder with the new exported "spetz_kits.skinnedmesh" file in it.(screenshot 147) |-
! scope="col" |
|} The export was finished.
THE DETAILED UNWRAP EDITING OF RPG-26 AGLENI.INDICATION OF THE CORRECT PATHS TO TEXTURES.
We open again in BfMeshView tool the original "ru_kits.skinnedmesh" file from Project Reality.We select the kit with RPG-26 Agleni(geom5) and open the "UV Editor" window(Tools->UV Editor).
We putting the new(exported) "spetz_kits.skinnedmesh" file in "...3dsmax folder/scenes/object/kits/spetz/meshes".And the new(exported) "spetz_kits.con" file, we putting in "...3dsmax folder/scenes/objects/kits/spetz".
We run the new copy(window) of BfMeshView tool, and in it new window we open the new(exported) "spetz_kits.skinnedmesh" file.We select the Spetznaz AT-kit, and look how many materials it has.
Must have only ONE.If it has 1 material - is good.If it has 2 materials, is means that the RPG-26 Agleni will be creep(floating) on the soldier's body in the game.
The two runing copies of BfMeshView tool on the screenshot:
in the left - the original "ru_kits.skinnedmesh" file from Project Reality
in the right - the new(exported) "spetz_kits.skinnedmesh" file
"this is хорошо" - this is good(the AT-kit(Geom 2) has one material)(screenshot 148)
|-
! scope="col" |
|} For to edit the unwrap, for begining we need to edit the paths of textures.On the BfMeshView toolbar we click on "Tools->Rename Textures...", and here we edit all paths of textures - remove unnecessary.For example - "d:/123/aici/objects/kits/spetz/textures/spetz_kits_c.dds" must be "objects/kits/spetz/textures/spetz_kits_c.dds".In my cause the path to the textures must be "objects/kits/spetz/textures/texture_file_name.dds".For "spetz_kits", "pilot_kits" and "spetz_dropbag" - two files for the each of these(for difuse and bump texture maps). (screenshot 149) |-
! scope="col" |
|} After we corrected the all textures paths, we click on "Apply".(screenshot 150) |-
! scope="col" |
|} We close the "Rename Textures" window.Textures overlaid the AT-kit.(screenshot 151) |-
! scope="col" |
|} We uncheck the(tick off) "View->Lighting".Then we open the "UV Editor"(Tools->UV Editor) in second running BfMeshView tool copy, where was opened our new(exported) "spetz_kits.skinnedmesh", and looking in the "UV Editor" window(with opened original "ru_kits.skinnedmesh" file from Project Reality)of the first running BfMeshView tool copy, we edit the unwrap of our new(exported) file, and we check how looks our RPG-26 Agleni in the BfMeshView tool window of the second running copy.(screenshot 152) |-
! scope="col" |
|} We edit the unwraps for both lods("lod0" and "lod1") of "Geom 2". After we finished the editing of RPG-26 Agleni texture unwraps, in BfMeshView tool, we save the "spetz_kits.skinnedmesh" - "File->Save". It's time to test our modified AT-kit of Spetznaz in the game, for to see how looking the RPG-26 Agleni on the soldier body. The "spetz_kits.skinnedmesh" file we putting in the "Objects_client.zip" to the "kits/spetz/meshes", and "spetz_kits.con" file in the "Objects_server.zip" ---> "kits/spetz". For the most easier examination AT-kit in the game, is need that the bots don't move. For this in Ghost Town map of BF2:SF, we will be modify theAIPathFinding for bots.We go to "...Battlefield 2/mods/xpack/Levels/Ghost_Town", in server.zip archive we rename the "AIPathFinding" folder, for example in "1AIPathFinding".Now the bots will be stand on place. We launching the game in the windowed mode(with " +fullscreen 0/THEMODYOUWANTOTEST" command in shortcut).The BF2 running in windowed mode, when it crash, usually show the cause of crash(error). We launch the BF2:SF, and loading the Ghost Town map.We look what it looks like RPG-26 Agleni on the soldier with flak jacket and without flak jacket. You can also write a demo in the game.We press the "tilde"("~")key on keyboard.To begining demo recording we type "demo.recorddemo demoname", and press "Enter" key.To end recording - we press "tilde" key, type "demo.stoprecording" and press "Enter". For playing recorded demo we use demoviewer BattleDirector.
My final result - RPG-26 Agleni on the AT soldier of Spetznaz in game. https://www.youtube.com/watch?v=Hu7dBJDQno4
END
P.S. That helped me in my work: http://www.bfeditor.org/forums/index.php?/topic/5013-3dsgmax-model-hierarchy-collection-56k-warning/ http://www.bfeditor.org/forums/index.php?/topic/12306-can-not-export-kit/ http://www.bfeditor.org/forums/index.php?/topic/2031-creating-a-soldier-model_3dsmax7/&page=8 http://forgottenhope.warumdarum.de/tutorials/newteammax.php http://forgottenhope.warumdarum.de/tutorials/newkits.php http://www.video-tutes.com/Tfile.php?KeepThis=true&id=1479&client=-a&rls=%3Aen&TB_iframe=true&height=600&width=800